
How to Use CircleCI for Deployment
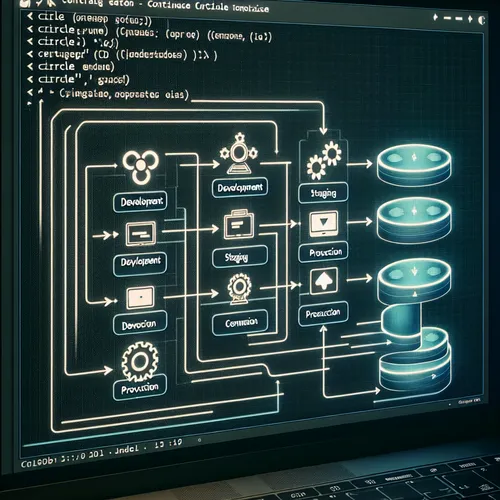
CircleCI is a powerful continuous integration and continuous deployment (CI/CD) platform that automates the deployment of software applications. With CircleCI, you can easily build, test, and deploy your applications efficiently. This tutorial will guide you through the process of setting up CircleCI for deploying your projects.
Prerequisites
- An account on CircleCI.
- A GitHub or Bitbucket repository for your project.
- Basic knowledge of Git and command-line interface.
1. Setting Up Your Project on CircleCI
Log in to your CircleCI account and link it with your GitHub or Bitbucket repository. Once linked, you can add your project:
- Select the project you want to set up.
- Click on the Set Up Project button to start the configuration process.
2. Creating a Configuration File
CircleCI uses a configuration file named .circleci/config.yml located in the root of your project. This YAML file defines your build and deployment process. Create the directory and file:
mkdir -p .circleci
nano .circleci/config.yml
2.1. Basic Configuration Example
Start with a simple configuration for deploying a Node.js application:
version: 2.1

jobs:
  build:
    docker:
      - image: circleci/node:12
    steps:
      - checkout
      - run:
          name: Install Dependencies
          command: npm install
      - run:
          name: Run Tests
          command: npm test

workflows:
  version: 2
  build_and_deploy:
    jobs:
      - build
This configuration specifies the Node.js Docker image, installs dependencies, and runs tests before proceeding further.
3. Deploying Your Application
To add deployment steps, you need to modify the workflow to include a deployment job:
deploy:
    docker:
      - image: circleci/python:3.8
    steps:
      - checkout
      - run:
          name: Deploy to Production
          command: ./deploy.sh
Ensure to create a deploy script (deploy.sh) in your project root that contains the deployment commands.
4. Environment Variables
If your deployment requires sensitive data (like API keys), you will want to add environment variables:
- Go to your CircleCI project settings.
- Under Environment Variables, add the necessary key-value pairs.
5. Pushing Changes
Commit your changes, including the .circleci/config.yml file, and push to your repository:
git add .circleci/config.yml
git commit -m "Setup CircleCI for deployment"
git push origin main
This will trigger a new build on CircleCI.
6. Monitoring Your Deployment
You can monitor the build and deployment status on your CircleCI dashboard. Each push will create a new build that you can view in detail, including logs and statuses of each step.
7. Conclusion
By following this tutorial, you have successfully set up CircleCI for automating the deployment of your applications. CircleCI streamlines your development workflow, allowing for efficient and reliable application deployment. Explore further features and integrations provided by CircleCI to enhance your CI/CD pipelines!


