
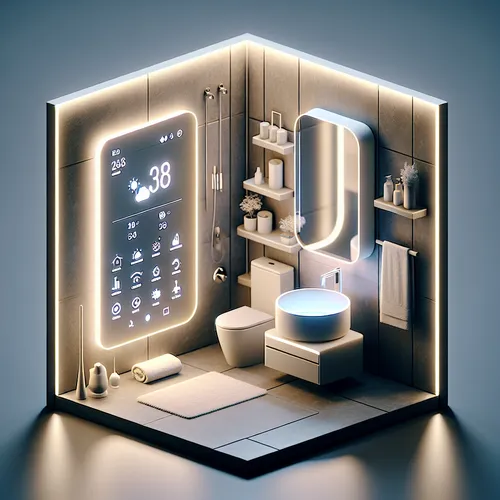
Building Your Own DIY Smart Mirror with Raspberry Pi
Smart mirrors are innovative gadgets that combine traditional mirrors with interactive smart displays. With a Raspberry Pi, you can build a smart mirror that shows weather updates, news, calendar events, and more right on your mirror’s surface. This tutorial guides you through the entire process to make your own functional smart mirror without prior coding skills.
Prerequisites
- Raspberry Pi (preferably Pi 3 or later) with power supply
- Two-way acrylic mirror or a one-way mirror panel
- Monitor or LCD screen (size matching your mirror panel)
- MicroSD card (at least 16GB) with Raspberry Pi OS installed
- WiFi connection
- HDMI cable and frame to hold the mirror and screen
- Basic tools (screwdrivers, mounting tape)
Step-by-Step Guide
1. Prepare Your Hardware
Start by assembling the components. Attach the two-way mirror on a frame that fits the monitor. Connect the monitor to the Raspberry Pi using the HDMI cable. Secure everything inside the frame so that the monitor is hidden behind the mirror.
2. Set Up Raspberry Pi
Flash Raspberry Pi OS onto your microSD card if not done already. Insert it into the Pi, connect it to a keyboard, mouse, and monitor for initial setup. Connect your Pi to WiFi and update packages by running:
sudo apt update && sudo apt upgrade -y3. Install Smart Mirror Software
We recommend using MagicMirror (Official site), an open-source modular smart mirror platform. Install it by running:
bash -c "$(curl -sL https://raw.githubusercontent.com/MichMich/MagicMirror/master/installers/raspberry.sh)"This script downloads and configures MagicMirror automatically. You can customize modules later.
4. Configure Modules
The MagicMirror software uses modules to display data like weather, news, clock, and calendar. Edit the configuration file located in ~/MagicMirror/config/config.js to enable or disable features, and add your location for weather.
5. Autostart MagicMirror
Set MagicMirror to start automatically on boot by installing pm2, a process manager:
sudo npm install -g pm2Then run:
pm2 start ~/MagicMirror/installers/mm.sh
pm2 save
pm2 startup
Troubleshooting Tips
- If the screen is black, check the HDMI connection and power supply.
- Ensure Raspberry Pi is updated to avoid package errors.
- Check MagicMirror logs in
~/MagicMirror/logsfor errors. - For display scaling issues, adjust resolution in Raspberry Pi config.
Summary Checklist
- Gather all hardware components (Raspberry Pi, mirror, monitor)
- Assemble mirror frame with the monitor behind two-way glass
- Install and update Raspberry Pi OS
- Install MagicMirror software using official script
- Configure modules to your preferences (weather, calendar, news)
- Set MagicMirror to start on boot with pm2
- Test and troubleshoot hardware and software issues
Interested in more Raspberry Pi projects? Check our post on Raspberry Pi 6 Launch with 16GB RAM & M.2 Support to stay updated with the latest hardware advancements.
About the Author










