{{ $('Map tags to IDs').item.json.title }}
How to Install PHP
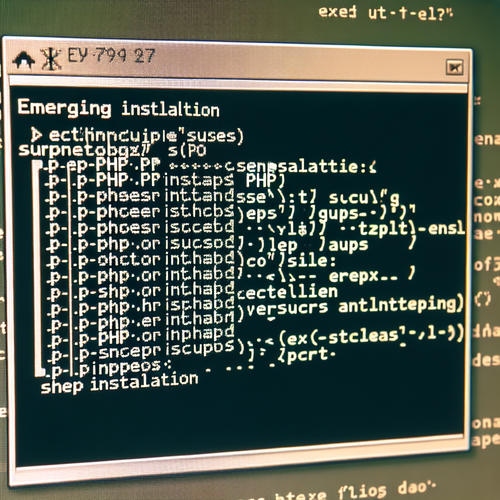
PHP (Hypertext Preprocessor) is a widely-used open-source server-side scripting language designed for web development. Installing PHP on your Linux system is straightforward, and this tutorial will guide you through the process on various distributions.
1. Updating Your Package Index
First, ensure your package manager is up-to-date. Open your terminal and run:
sudo apt updateFor CentOS, use:
sudo yum update2. Installing PHP
To install PHP, you can use the package manager for your distribution. The specific commands vary:
- For Ubuntu:
sudo apt install php - For CentOS:
sudo yum install php - For Fedora:
sudo dnf install php
3. Verifying the Installation
After installing PHP, you can verify the installation by checking the version:
php -vThis command should display the installed version of PHP, confirming that it was installed successfully.
4. Installing PHP Extensions
Many applications require PHP extensions to function properly. You can install additional extensions using:
- For Ubuntu:
sudo apt install php-xml php-mbstring php-curl - For CentOS:
sudo yum install php-xml php-mbstring php-curl
Make sure to replace the extension names with the ones you require for your application.
5. Creating a Test PHP File
To test if PHP is working correctly with your web server, create a PHP file in your web server’s document root directory:
echo "<?php phpinfo(); ?>" | sudo tee /var/www/html/info.phpAccess this file via your web browser at http://your_server_ip/info.php. You should see a page with PHP configuration details.
6. Conclusion
By following this tutorial, you have successfully installed PHP on your Linux system. PHP is a powerful scripting language that powers many web applications and content management systems. Continue to explore PHP’s extensive documentation and libraries to enhance your web development skills!