{{ $('Map tags to IDs').item.json.title }}
How to Manage System Time with timedatectl
The timedatectl command is a powerful tool in Linux for managing system time settings, including time zones and clock synchronization. This tutorial will guide you through the process of using timedatectl to effectively manage system time.
1. Checking Current Time Settings
To view the current date, time, and time zone settings of your system, run the following command:
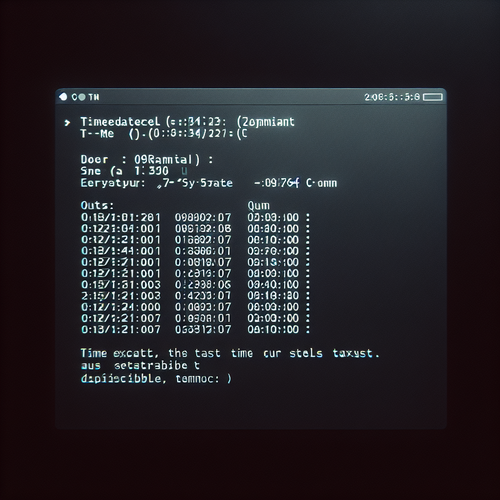
timedatectlThis command outputs important information about your system clock, including:
- Local time
- Universal time
- RTC time (hardware clock)
- Time zone
- Whether NTP (Network Time Protocol) is enabled
2. Changing the Time Zone
If you need to change the system’s time zone, you can list available time zones:
timedatectl list-timezonesTo set a new time zone, use:
sudo timedatectl set-timezone Region/CityFor example, to set the time zone to New York:
sudo timedatectl set-timezone America/New_YorkRun timedatectl again to verify that the time zone has been changed.
3. Enabling NTP Synchronization
NTP is used to synchronize the system clock with internet time servers. To enable NTP synchronization, run:
sudo timedatectl set-ntp trueThis ensures your system clock is always synchronized.
4. Disabling NTP Synchronization
If you need to disable NTP synchronization for any reason, you can use:
sudo timedatectl set-ntp false5. Setting the System Time Manually
You can also manually set the system time with the following command. The format is YYYY-MM-DD HH:MM:SS:
sudo timedatectl set-time '2022-10-01 12:34:00'After setting the time, check it again using timedatectl.
6. Conclusion
By following this tutorial, you have learned how to manage system time and time zone settings in Linux using the timedatectl command. Maintaining the correct date and time configuration is essential for system logs, scheduled tasks, and general operations. Continue to explore other functionalities of timedatectl to optimize your system management skills!