
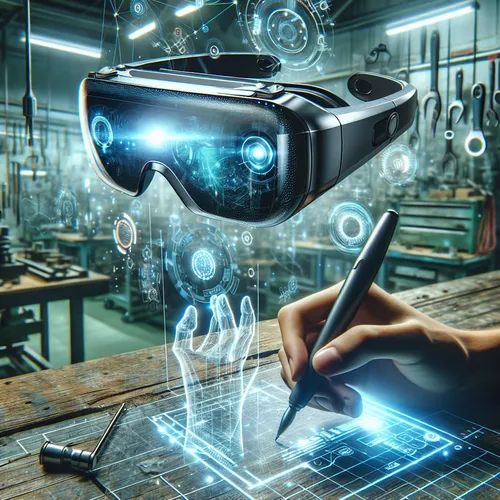
DIY Smart Glasses: Build Your Augmented Reality Wearable
Augmented reality (AR) is transforming how we interact with our environment. Building your own smart glasses offers a remarkable way to understand this technology hands-on. This tutorial will guide you through the process of creating a functional pair of AR smart glasses from components to programming.
Prerequisites
- Basic electronics skills including soldering
- Knowledge of programming microcontrollers (Arduino or Raspberry Pi)
- Familiarity with AR concepts
Materials Needed
- Microcontroller board: Raspberry Pi Zero (Official site)
- Waveguide display or small transparent LCD screen
- Miniature camera module
- IMU (Inertial Measurement Unit) sensor for head tracking
- Battery pack for portable power
- Frame or glasses housing
- Connecting wires, resistors, and soldering tools
Step-by-Step Assembly
Step 1: Prepare the Frame
Choose a frame capable of housing your components comfortably. Drill or modify it to fit the display and camera modules.
Step 2: Mount the Display
Securely attach the waveguide display or LCD in the frame’s eyepiece position. Connect it to the microcontroller’s video output pins.
Step 3: Install the Camera Module
Place the miniature camera on the front of the frame to capture the wearer’s view. Connect it to the microcontroller’s input ports.
Step 4: Connect the IMU Sensor
Solder wires from the IMU sensor to the microcontroller. This sensor enables head tracking to align the AR content properly.
Step 5: Power Setup
Attach the battery pack to power the system. Ensure proper voltage regulation to protect sensitive components.
Step 6: Wiring and Final Assembly
Complete all wiring connections, secure components with adhesive or screws, and tidy cables to avoid discomfort.
Programming Your Smart Glasses
This project uses a Raspberry Pi or similar microcontroller. Start by installing an operating system with AR libraries such as ARToolKit or OpenCV for computer vision.
- Configure camera input streaming
- Process sensor data for head tracking
- Render AR graphics onto the display
Consult online resources or SDKs for AR development to enhance your glasses’ capabilities.
Troubleshooting Tips
- If the display is not working, check all solder joints and connections.
- For latency issues, optimize code and consider higher-performance microcontrollers.
- Calibration of sensors is essential for accurate tracking. Use test scripts for sensor alignment.
- Ensure the battery is charged and providing stable power during operation.
Summary Checklist
- Frame prepared and components securely mounted
- Display and camera connected and functional
- IMU sensor wired for head tracking
- System powered and voltage regulated
- Microcontroller programmed with AR libraries
- Tested and calibrated for smooth operation
For deeper AR application programming, check our guide on Getting Started with TinyML: AI on Microcontrollers which explains running AI on small devices similar to AR wearables.
Building DIY smart glasses brings you closer to the cutting edge of wearable tech. Enjoy your new augmented reality perspective!
About the Author










